Need to get financed? Apply for a Synchrony Account to make all of your wishes come true! Find out more and apply
Need to get financed? Apply for a Synchrony Account to make all of your wishes come true! Find out more and apply
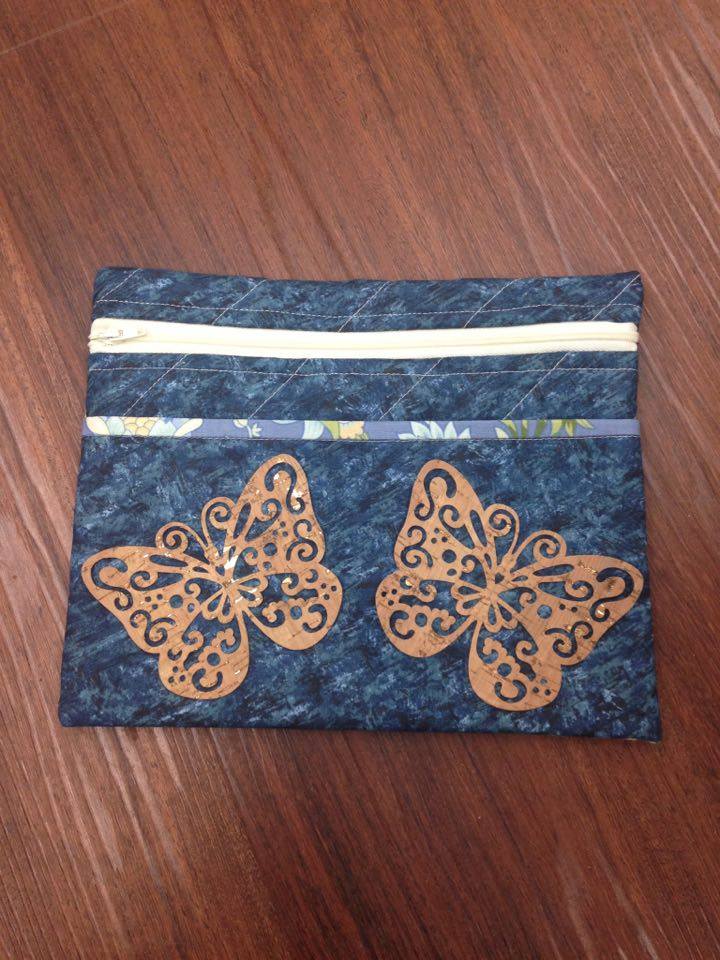
Some of you out there have been sewing up a storm with all the beautiful cork fabrics that we have been selling here at Schiller’s. If you haven’t had a chance to try sewing, embroidering, appliquéing etc. with this wonderful textile, this would be a great project to get started!
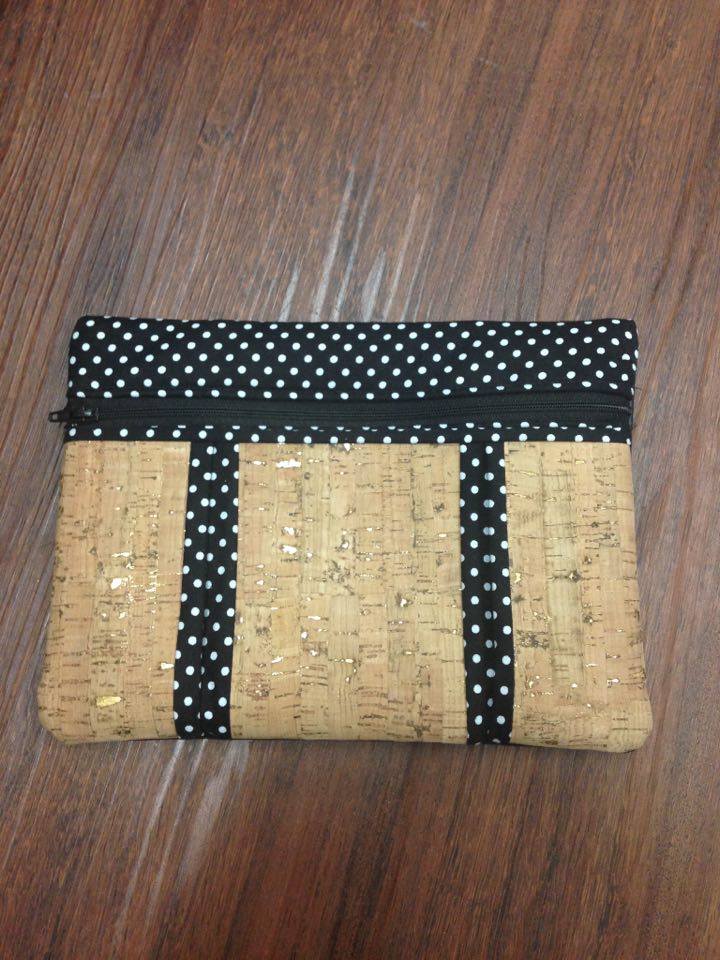
Some of you out there have been sewing up a storm with all the beautiful cork fabrics that we have been selling here at Schiller’s. If you haven’t had a chance to try sewing, embroidering, appliquéing etc. with this wonderful textile, this would be a great project to get started! Or, if you came to one of our classes on the Fiji Tote Bag made with the cork fabric accent, you may have a bit of the cork left over and this is what I did with my leftovers! Otherwise, please come down to the store and check out all of the wonderful cork fabric in stock!! This little pouch is also a great way to show off some of your favorite embroidery. There are two different methods in the directions on how to style the front of this bag. The front with the cork pleats is the pleated front style and there is also a full front style with plenty of room for an embroidery design or to showcase a beautiful fabric (or cork butterflies). I was a bit overly excited about buying the Brother Scan N Cut so the butterflies are the first thing that I cut out! You could also choose three different embroidery designs for the pleated front if you wish!! This pattern is fat Quarter Friendly so go ahead and dig into that stash! We have the On the Go! pattern here at the store and the price is $10.50. We will be able to complete this bag in one day so the cost of the class will be just $10. Hope to see you in class!
Materials: (for (1) of either style pouch)
Pouch main fabric – 1 fat quarter
Accent and lining fabric – 1 fat quarter (or 1 for each accent
for added variety)
Pocket Lining and Trim – 1 fat quarter
Pocket fabric – 1 fat quarter feature print, or a solid for
the embroidery option
(1) 12” or longer zipper
Low loft batting – (1) 12” x 17” rectangle
Optional: Embroidery designs of your choice
For pleated front: the side areas can handle a design approx.
1 ¾” wide x 3 ¾” high. The center area can handle a design
approx. 2 ½” wide x 3 ¾” high.
For the full front: the front area can handle a design approx.
7” wide x 3 ¼” high.
Sewing machine in good working order
Iron-on tearway stabilizer (for embroidery option)
Basic sewing supplies
Thread to match your fabrics
Walking foot, zipper foot
Size 90/14 universal sewing machine needle
Prep:
For the pleated front pouch, cut out (2) pieces of fabric 3 ½” x 5 ¾”
and (1) piece of fabric 4 ½” x 5 ¾”. These pieces are the two side
front sections and the center section. If you wish to embroider
these sections, the pieces must be rough cut larger and then
cut down to the above sizes after embroidering. Sometimes the
embroidery can pull the fabric in slightly and distort the size so
always hoop up a larger piece of fabric than necessary to do your
embroidery. After the embroidery is complete just cut down the
pieces to the above sizes. If you are not embroidering any of the
front sections, simply cut out the three pieces of your chosen
fabrics to the measurements above.
For the full pocket front pouch, cut out (1) piece of fabric 5” x 8 ½”.
If you choose to embroider the front pocket, rough cut the piece a
bit larger prior to embroidering and then trim down to the size above.