Need to get financed? Apply for a Synchrony Account to make all of your wishes come true! Find out more and apply
Need to get financed? Apply for a Synchrony Account to make all of your wishes come true! Find out more and apply
Starting this year, we are going to be running several new classes on using your serger. I wanted to kick off the new year with this first serger class using a few fun techniques.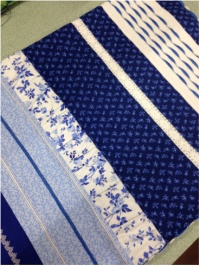
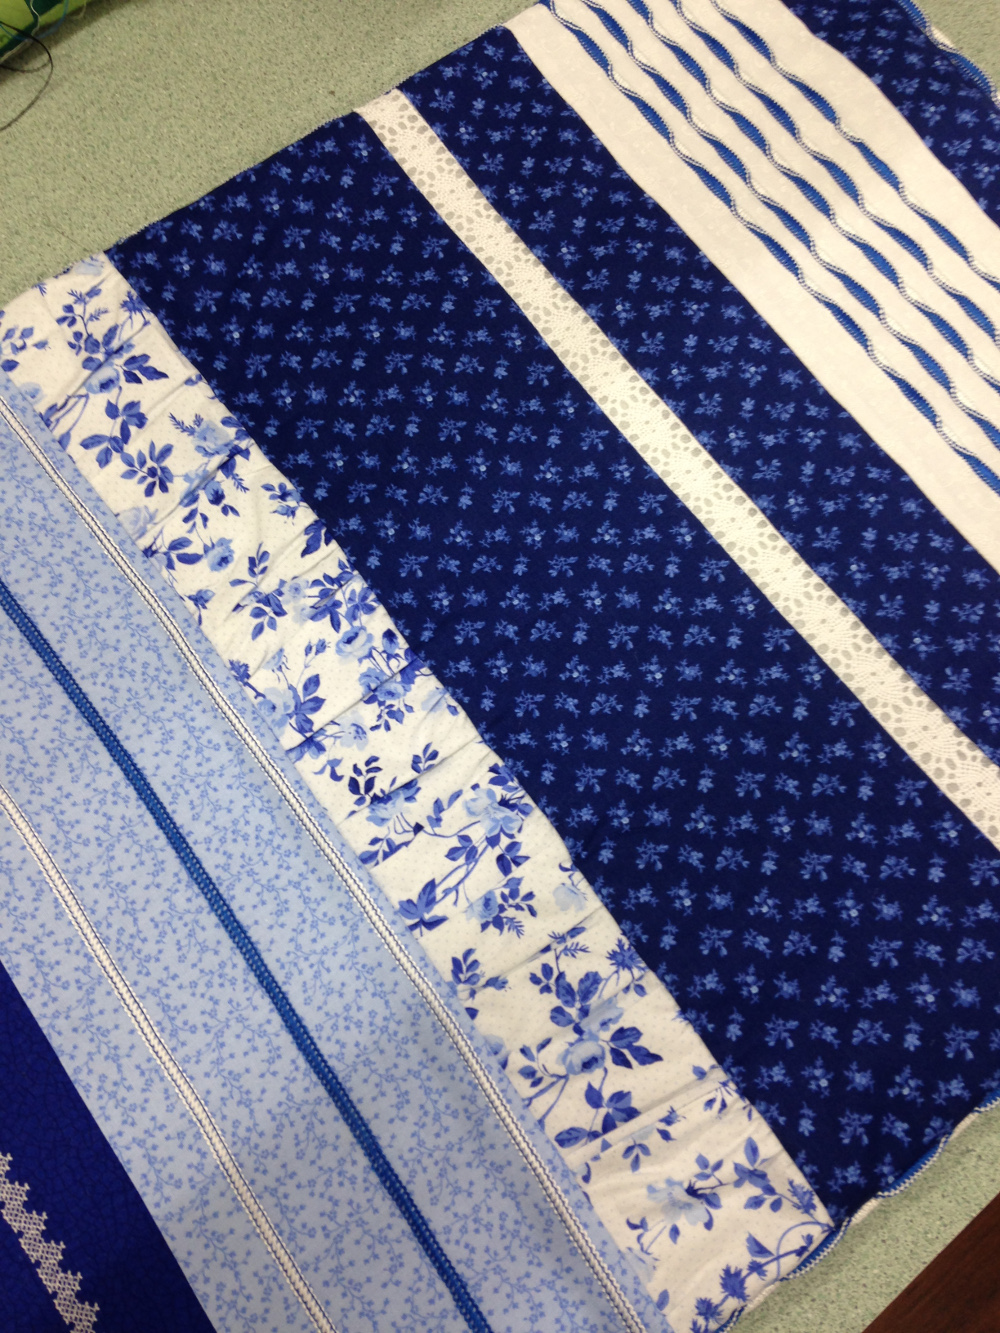
Starting this year, we are going to be running several new classes on using your serger. I wanted to kick off the new year with this first serger class using a few fun techniques. When completed, you can stitch it all together to make a table runner like I did, or you could just leave the different sections separate, and label them for future reference. Among the techniques that you will be learning are; gathering, pin tucking, lace insertion, flat locking, piping, and if you have a Baby Lock serger and the wave stitch is available on your serger, you will learn how to set up your machine for this lovely stitch and make wave stitch tucks and wave piping. Don’t be afraid to pull your serger out of the closet or out from under your sewing table where it’s been hiding…This class will be fun, easy and informative, I promise!! This is a hands-on class so you will need to bring your serger with you. I am spreading the class into two days during the week or a full day on a Saturday because we want you to be able to complete all of the techniques. All of these ideas could be used in a garment, for a home dec project or even to make a very special quilt. I hope you can join us and learn some new serger techniques or maybe just brush up on your previous knowledge. See you soon!
Materials:
-Fabric: I used a fat quarter pack of beautiful porcelain blues, so all of the color coordination was done for me! The entire runner, with exception of the backing piece, can be made with just a few fat quarters. I added in some white fabric as well for the contrast against the two “wave tuck” segments.
-A piece of backing fabric cut to 18” x 50” (if you decide to make a runner out of your samples)
-A piece of low loft batting cut to 18” x 50” (if you decide to make a table runner out of your samples)
-Optional: A few pages of clear sheet protectors to put a sample in from each technique
-Your serger in good working order
-(2) new size 90/14 needles (check your manual for the correct type of needle for your machine)
-Threading guide and/or owner’s manual for assistance when changing to different stitch types
-Power cord/foot control/standard presser foot
-Optional: Piping foot, lace applicator foot, clear foot
-(4) serger cone threads to blend with fabric choices
-(2) decorative ( heavier type) threads like pearl crown rayon, jean stitch, Décor 7, etc.
-(1) yard of 1” -2” lace (I used the cotton type)
-Notions: scissors, marking pen, pins, etc.
Prep:
-Cut (2) strips 3” x WOF (width of fabric) for the gathering sections
-Cut (2) pieces of fabric at 4 ½” x 17”, (1) for the flat locking and
(1) for the pin tucks
-Cut (2) pieces of fabric at 4 ½” x 17” for the decorative stitch sections (I just embroidered these two pieces on my embroidery machine for an extra heirloom touch). You can also use a beautiful decorative stitch on your sewing machine, or you can just insert the two pieces of plain fabric if you wish.
-Cut (2) pieces of plain fabric (mine is the white fabric in the runner) at 4 ½” x 17” for the wave tuck sections
-Cut (2) pieces of printed fabric cut at 5” x 17” and (2) pieces cut at 2 ½” x 17” and (2) pieces cut at 2” x 17” as filler strips (all of the same fabric)
-Cut (2) pieces of your lace 17” long for the lace insertion
Sorry, Registration is closed for this class.