With all of the new sewing machine purchases that we have had over the past couple of years, it seems only necessary to have a class on making a unique and custom fit cover! Don’t worry if you haven’t had a lot of experience sewing on your new machine, this cover is easy to construct. When we are not using our machines, it is best to cover them to keep out dust, pet hair and help prevent light from discoloring the outside of the machine. Making a cover for your sewing machine is a wonderful first project for all of you new sewing machine owners and all of you veteran sewers as well. It makes your sewing space look personal and attractive! There is no pattern for you to purchase for this class but I will be giving you measurements for the body and sides of the cover and these will fit all of the top and mid-line machines. If you are not sure how to measure for your machine, we can show you how when you get to class. This will be a two day class so the cost is $20. Hope to see you in class!
Materials :
- 1 ½ yards of fabric for body of cover, sides and handle
- 1 ½ yards of fabric for lining of cover, sides and handle
- ½ yard of fabric for bias binding – or 5 ½ yards of pre-made
- ½” double fold bias binding
- (1) piece of clear vinyl approximately 11” x 10”
- Thread to match fabrics
- Size 90/14 or 100/16 Jeans/Denim machine needle
- All-purpose sewing machine foot
- Sewing machine in good working order
- (2) 1” decorative buttons
Cutting :
Main Fabric –
- (1) piece 25” x 32” for body of cover
- (2) pieces 8” x 12 ½” for sides of cover
- (1) piece 2” x 22” for the handle
- (2) pieces 3 ½” X 4” for small pocket
Lining Fabric –
- (1) piece 25” x 32” for cover lining
- (2) pieces 8” x 12 ½” for side linings
- (1) piece 2” x 22” for handle lining
Binding Fabric –
- Cut and sew together enough 3” bias strips to make a total of 5 ½ yards. Fold lengthwise, wrong sides together and press
Clear Vinyl –
*If you have an embroidery machine and would like to embroider your cover, bring your machine to the first class along with stabilizer, hoop and threads you wish to use. Note: Choose simple embroidery designs that stitch out quickly so as not to take up too much of your sewing/constructing time!
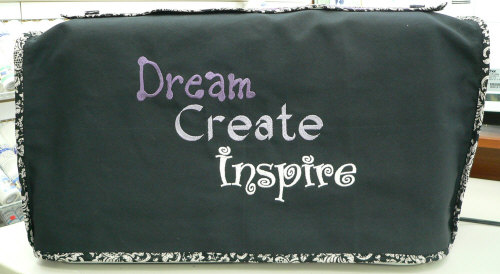 Front View
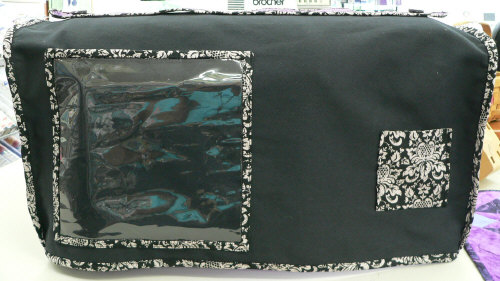
Back View