Need to get financed? Apply for a Synchrony Account to make all of your wishes come true! Find out more and apply
Need to get financed? Apply for a Synchrony Account to make all of your wishes come true! Find out more and apply
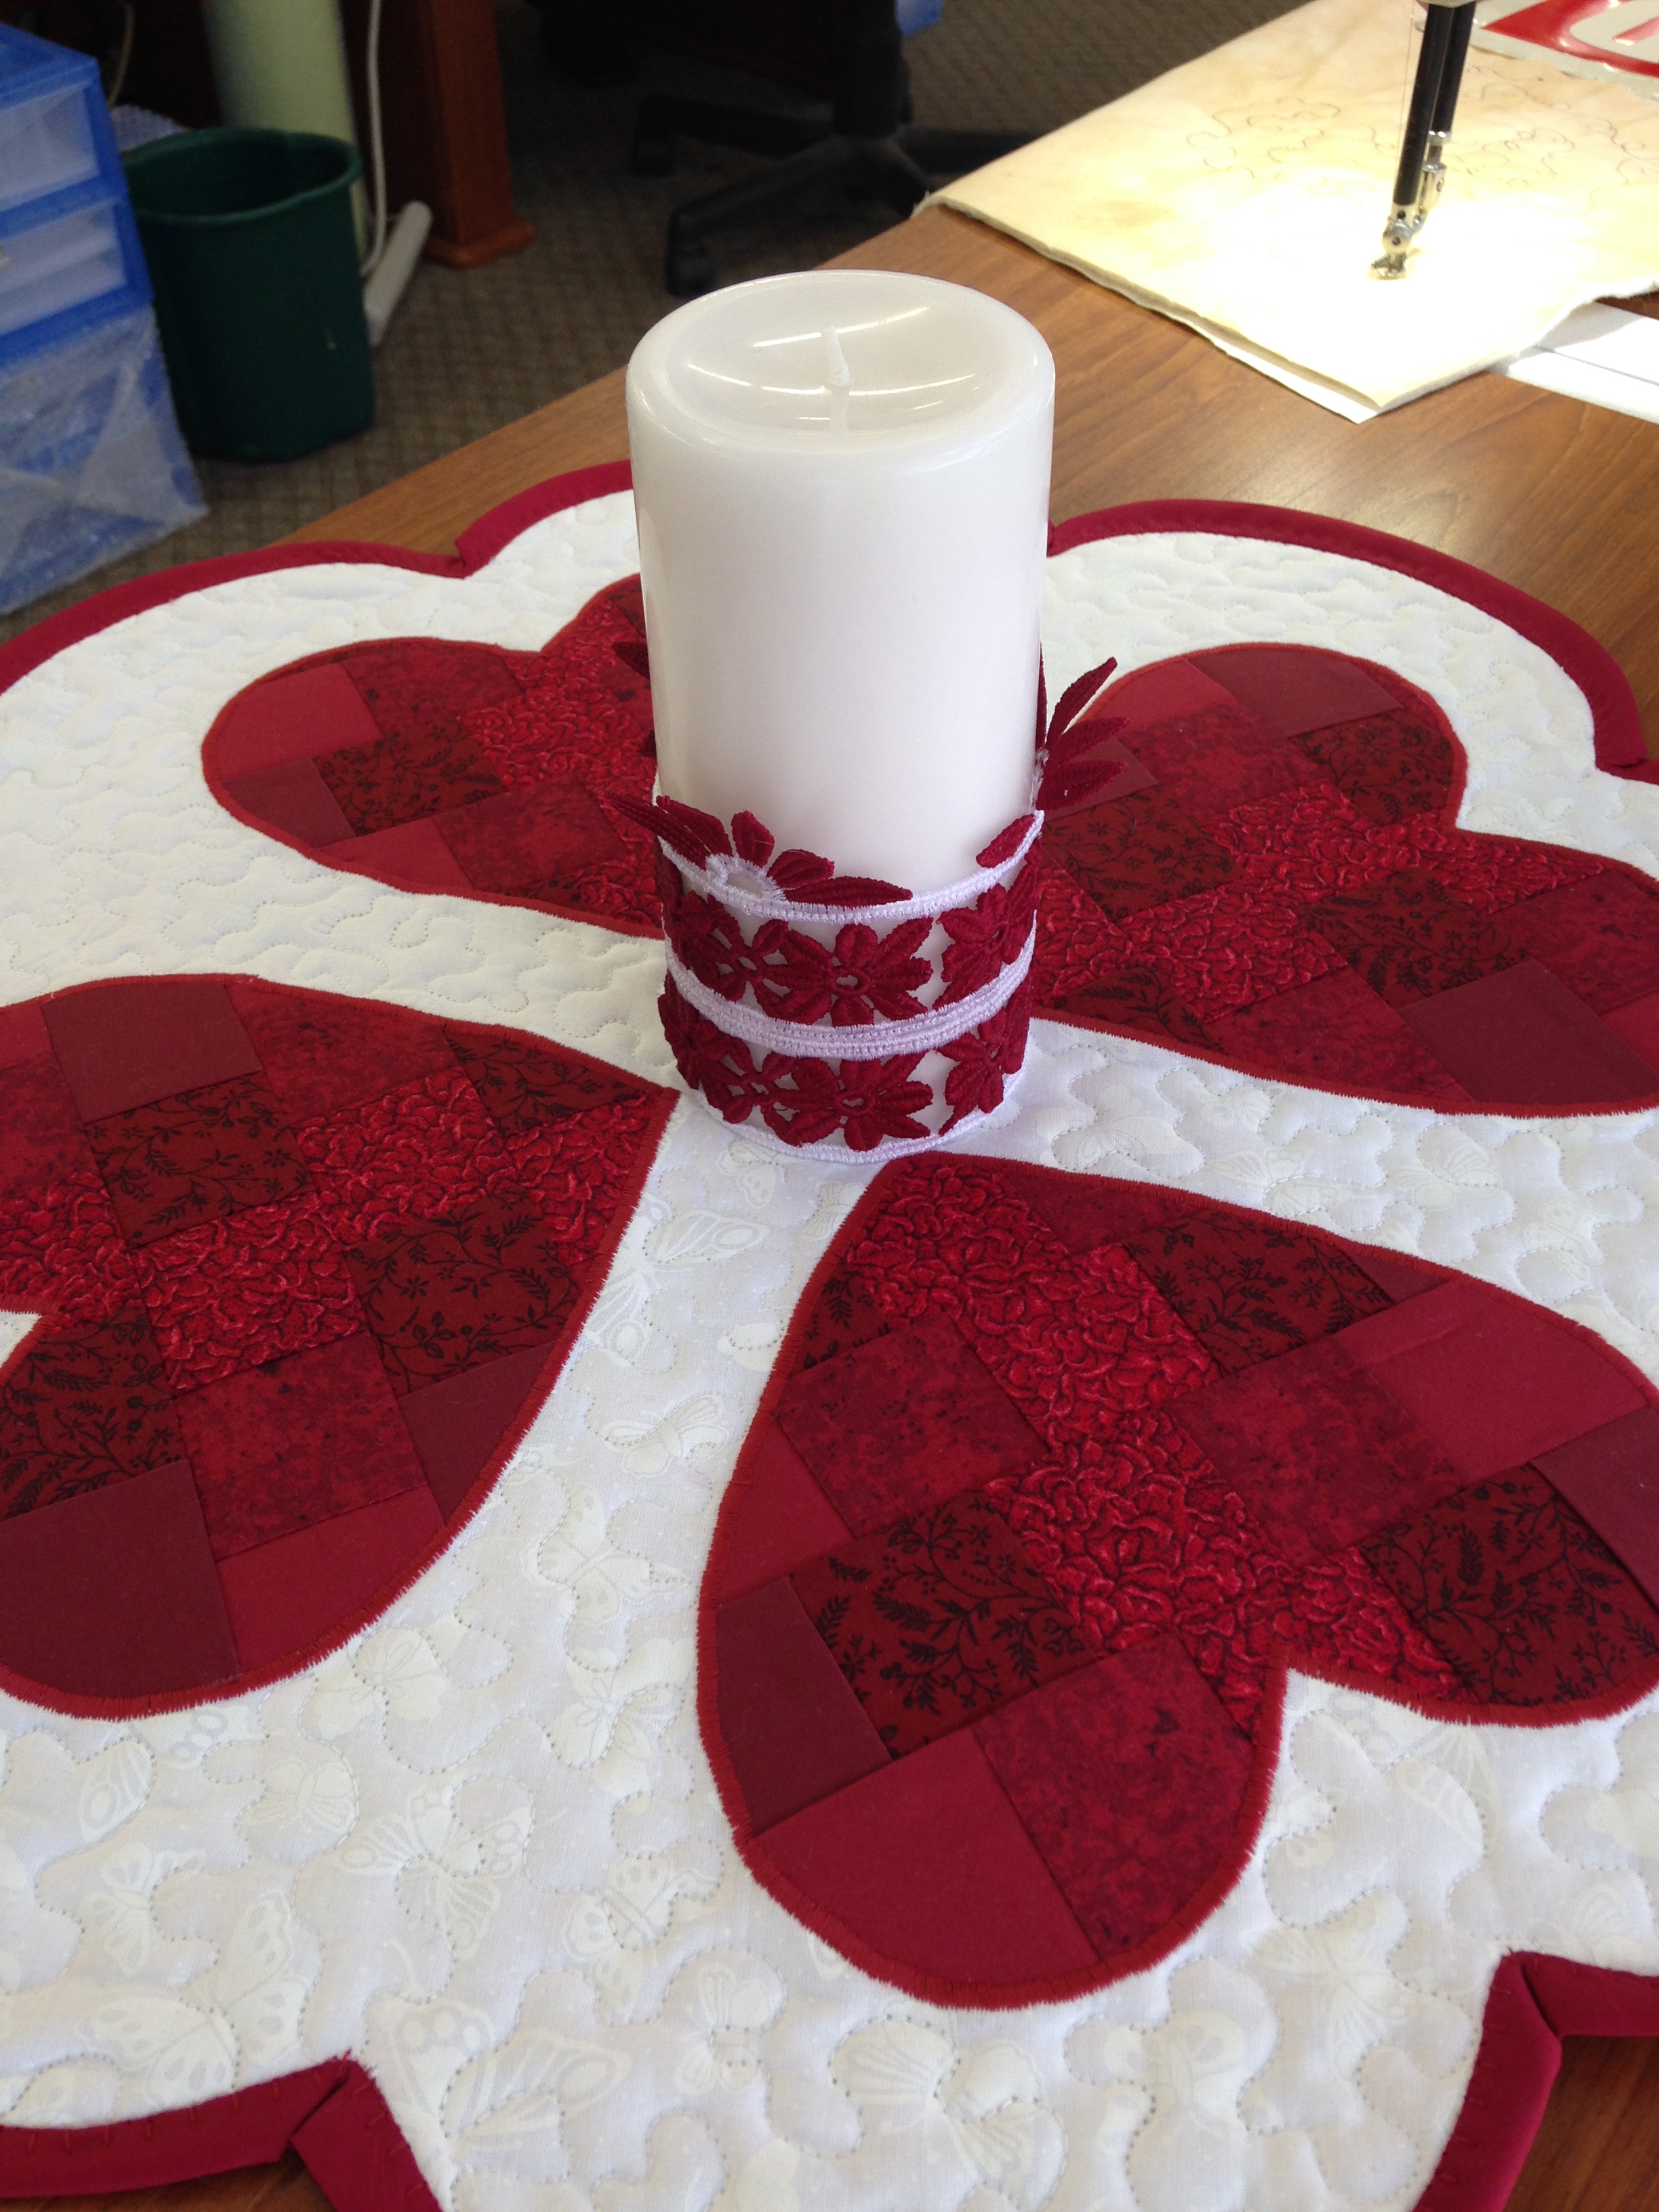
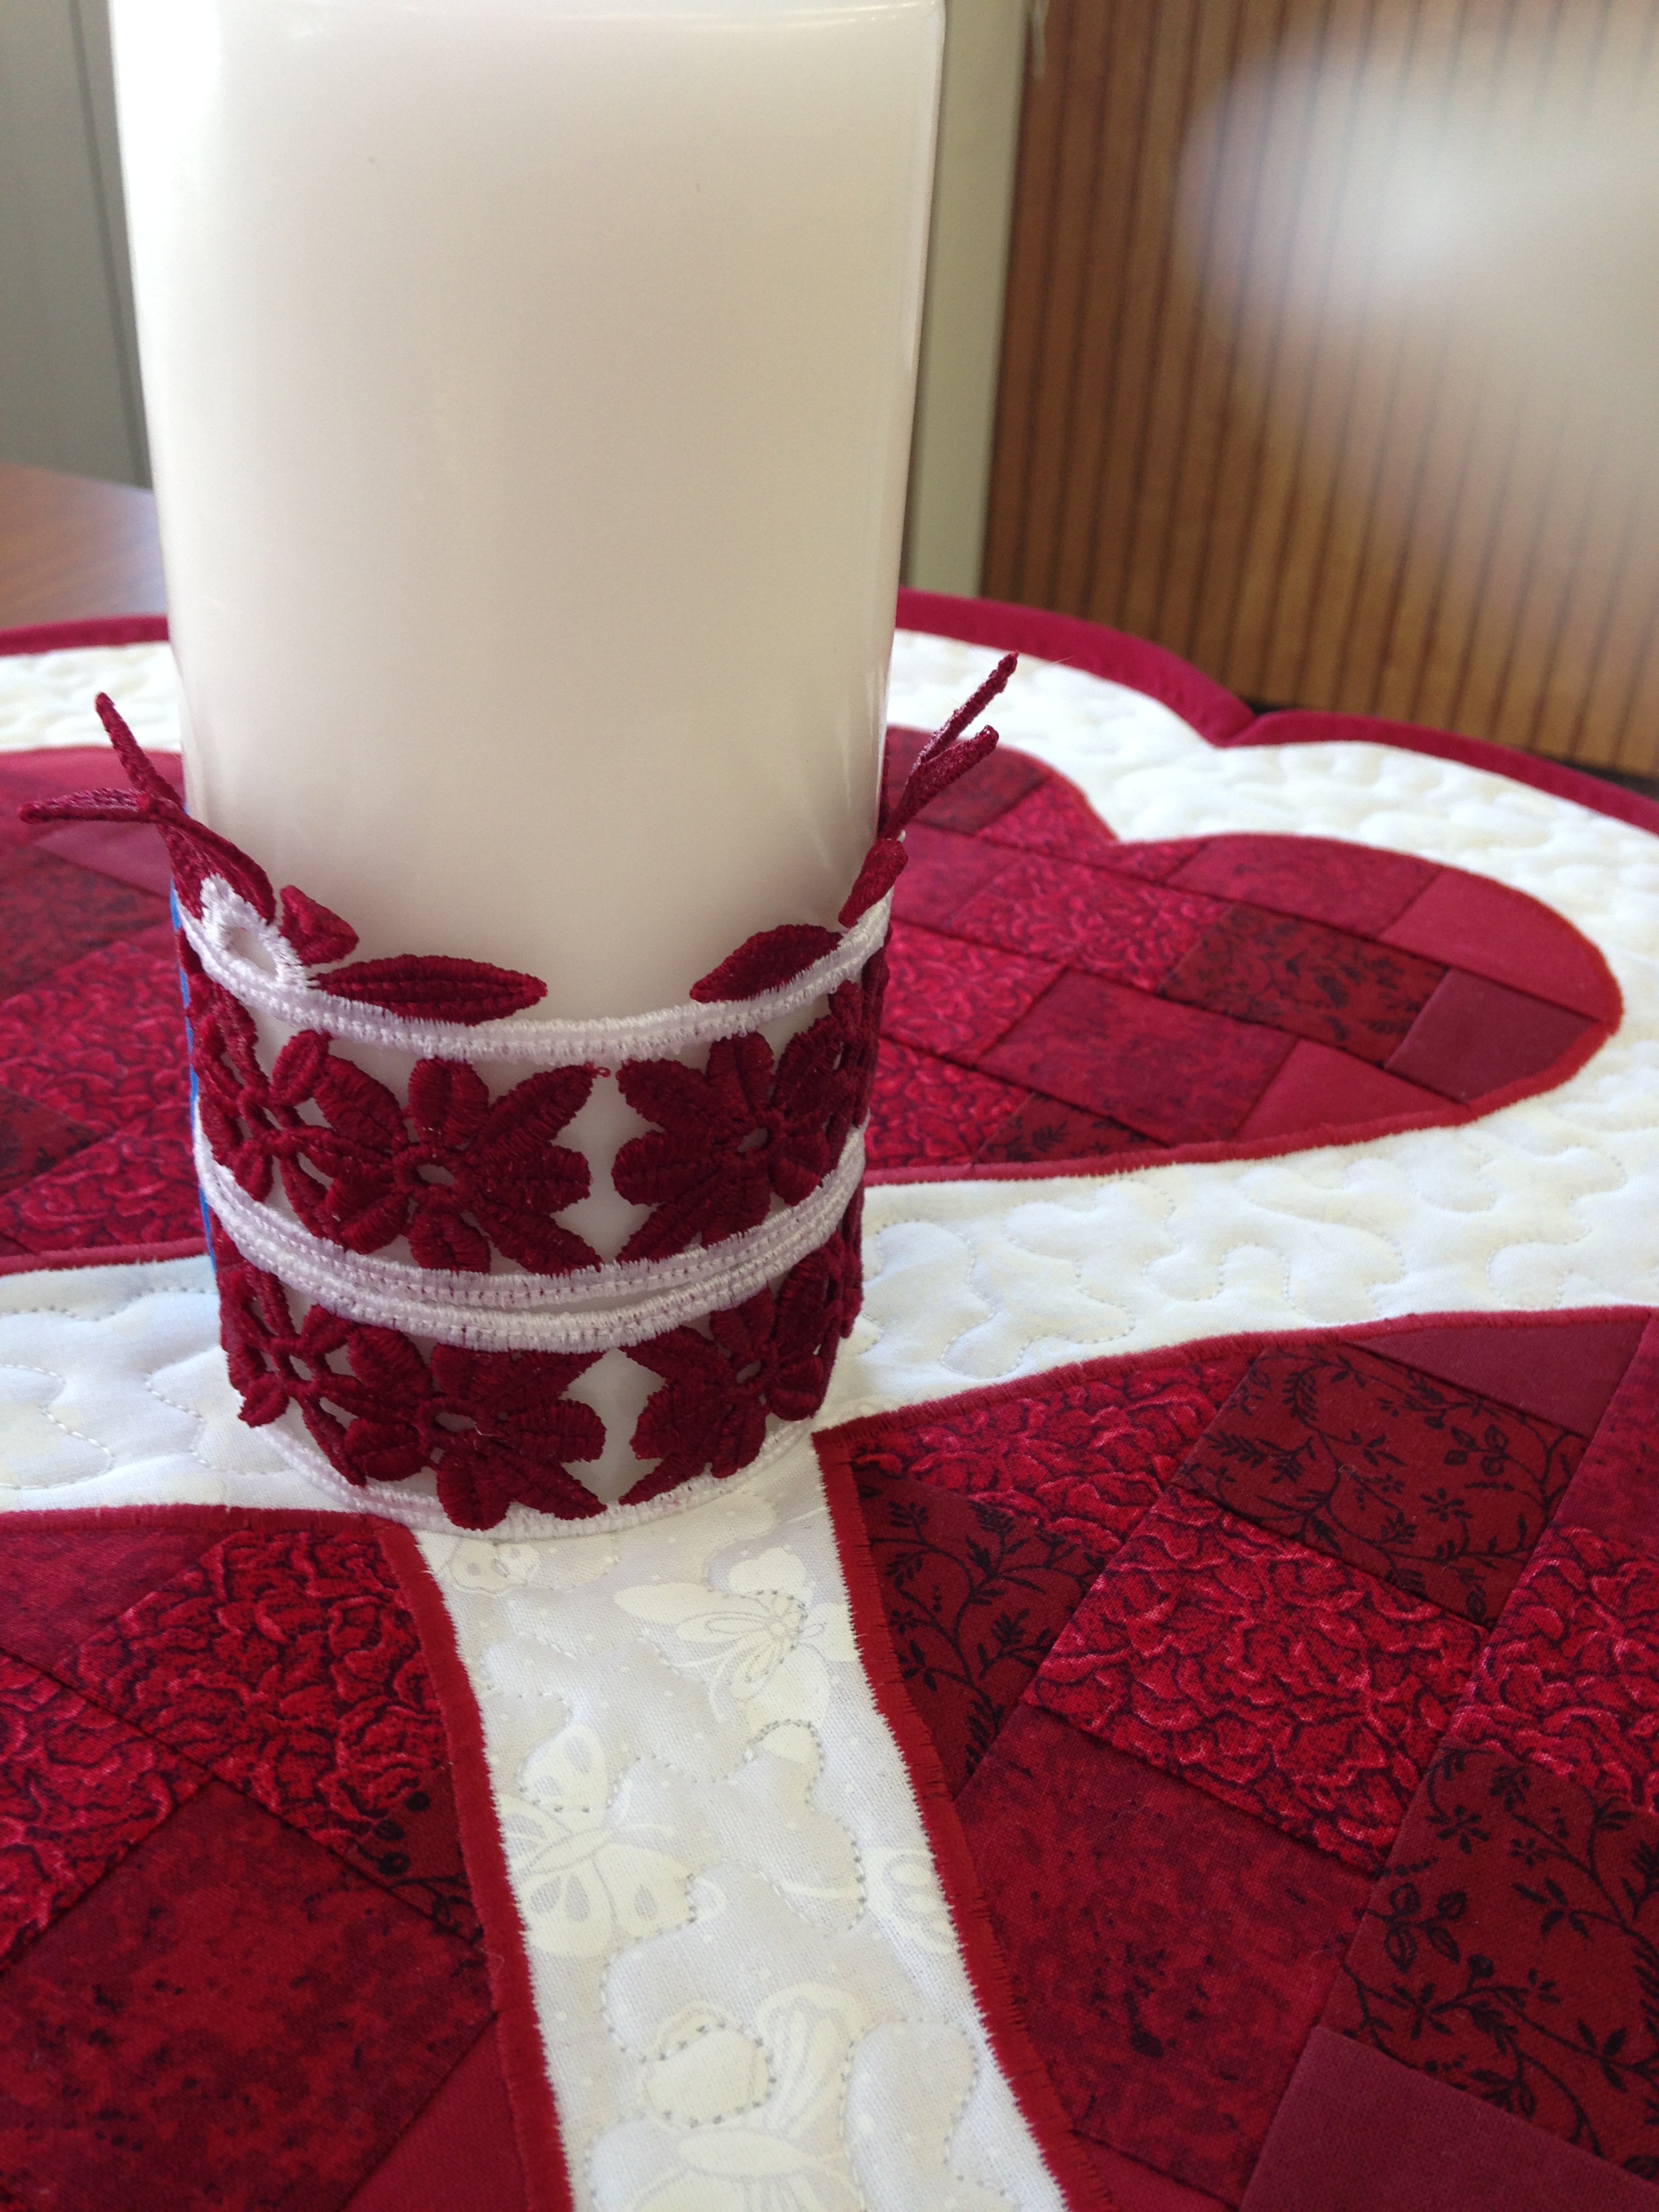
Here is a nice little addition to your home to brighten up those gray days of winter. This centerpiece is the perfect decorative project this holiday, and with fun fabrics and heart shapes, you'll want to leave this beautiful quilted mat on the table all year round!
Here is a nice little addition to your home to brighten up those gray days of winter. This centerpiece is the perfect decorative project this holiday, and with fun fabrics and heart shapes, you'll want to leave this beautiful quilted mat on the table all year round! Simple sewing and quilting is all that is necessary to complete this cute project. I found this free pattern on the web at AllFreeSewing.Com. You can use this handy link to go to the page so that you can get the pattern and print out both your patterns and the instructions. It’s that easy! This would be a wonderful way for all of you new machine owners out there to get acquainted with your machine. The finished size of the centerpiece is approximately 21” in diameter. This will be a two day class so the cost is $20. Hope you can join us!
BEFORE CLASS:
Sew your (6) 2” strips together lengthwise and press seams in one direction. Then cut 2” strips crosswise until you run out of material. Cut out two pieces of white material from the base newspaper pattern that you already made for the top and bottom and another one out of the fleece.
 |
 |
Sorry, Registration is closed for this class.